Your cart is empty

MEGA FLASH SALE ON NOW! ⚡ SHOP SALE


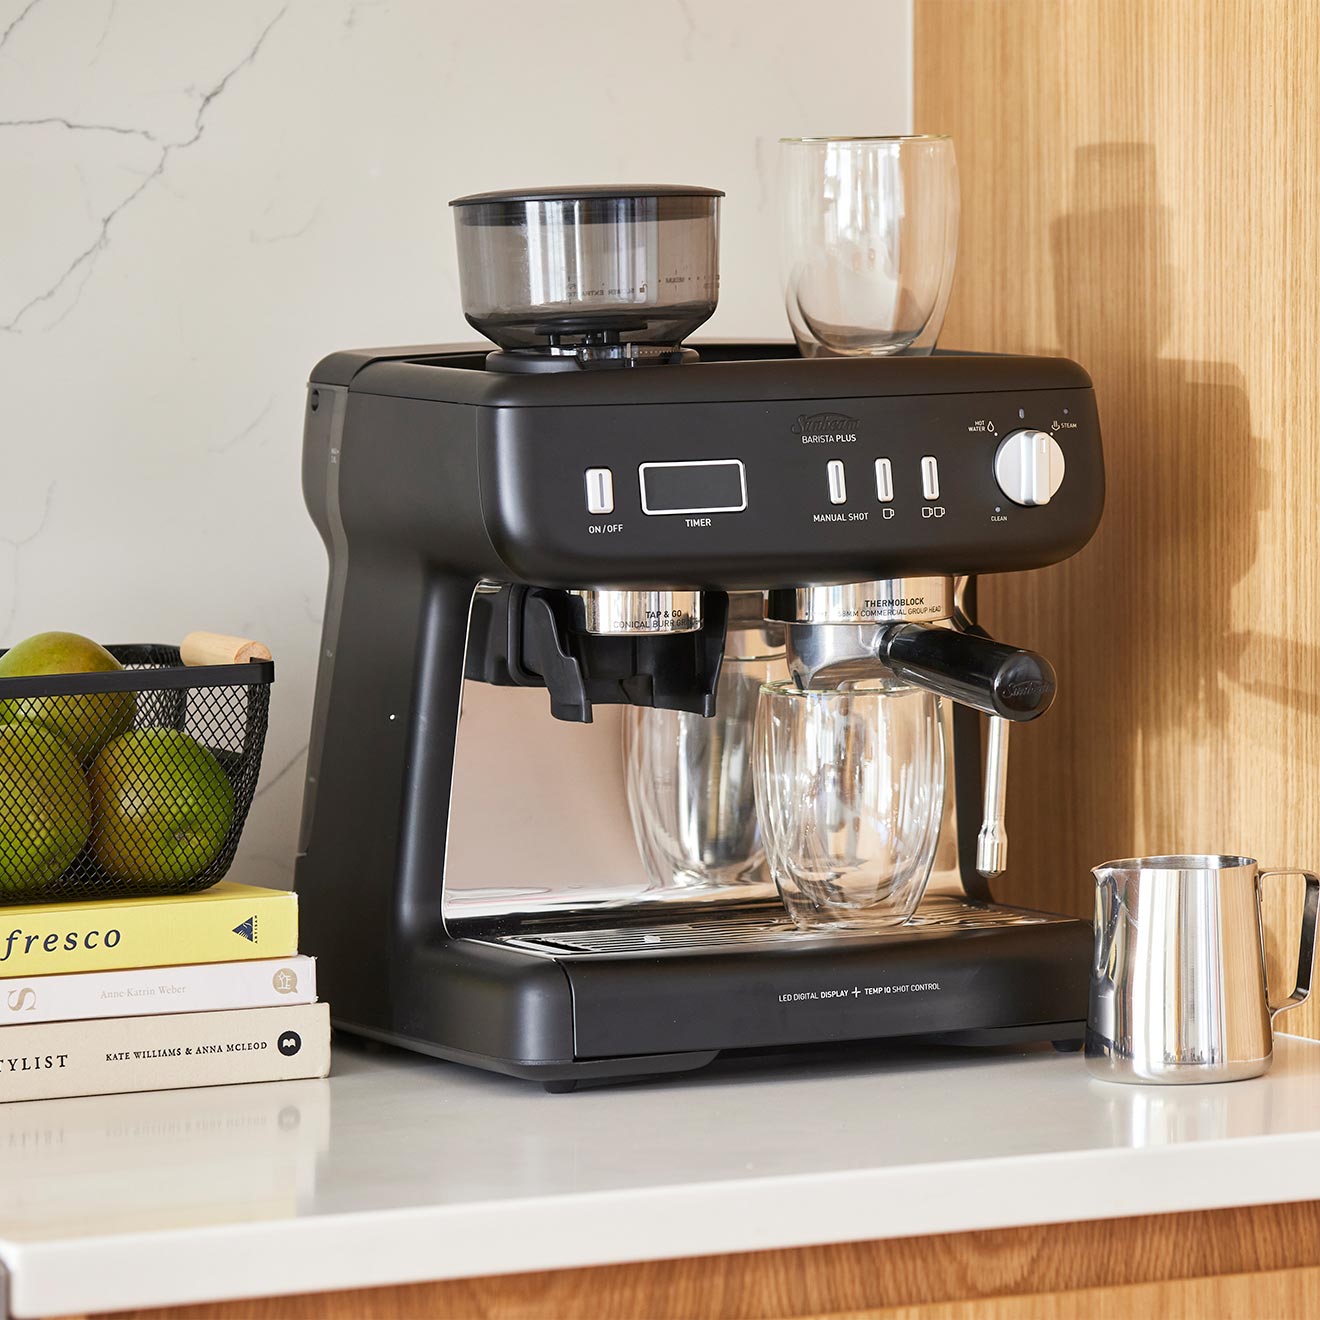
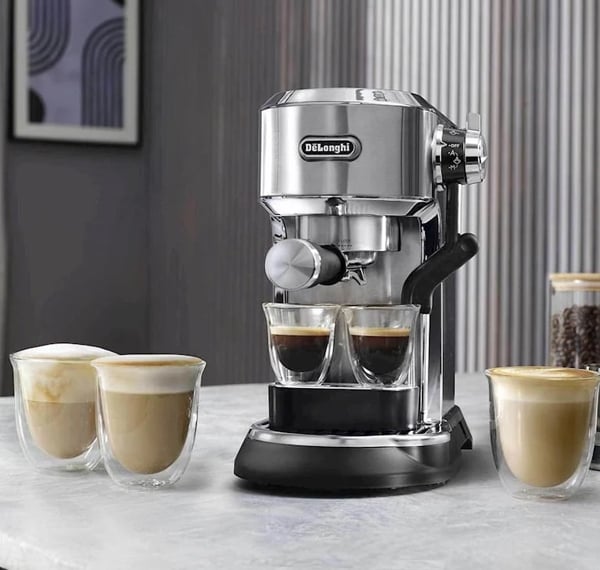
For coffee lovers, a Breville coffee machine is essential for brewing that perfect cup. However, over time, mineral deposits from hard water can build up inside the machine, affecting the taste of your coffee and how well the machine works. Descaling is the process that helps remove these deposits, keeping your coffee tasting great and extending the life of your machine. In this guide, we’ll explain why descaling is important, how often you should do it, and provide easy steps to follow.
Whether you're a coffee expert or just getting started, learning how to descale your machine will help you enjoy delicious coffee for years to come. Let’s get started!
Descaling your Breville coffee machine is crucial for maintaining its performance and ensuring great-tasting coffee. Over time, mineral deposits from hard water can build up inside the machine, leading to issues like slower brewing times and bitter flavors. If left untreated, these deposits can damage the machine and shorten its lifespan. By regularly descaling your coffee machine, you can enjoy consistently delicious coffee while extending the life of your appliance.
Knowing how often to descale your Breville coffee machine is essential for optimal performance. Factors like water hardness, usage frequency, and the manufacturer's recommendations all play a role in determining the right descaling schedule. By understanding these elements, you can ensure your machine stays in top shape and continues to brew delicious coffee.
Water hardness is an important factor to consider when it comes to descaling your Breville coffee machine. It refers to the concentration of dissolved minerals, mainly calcium and magnesium, present in your water supply. If you live in an area with hard water, these minerals can build up inside your machine over time, leading to various issues.
When hard water is used in brewing coffee, mineral deposits can accumulate in the machine's internal components. This buildup not only affects the efficiency of the machine but can also alter the taste of your coffee, resulting in a bitter or stale flavor. To maintain the quality of your brews, it’s essential to be proactive about descaling.
If you suspect your water is hard, you can easily test its hardness with strips available at most hardware stores. If you find that your water is indeed hard, you should consider descaling your Breville coffee machine more frequently—ideally every month or so. By understanding the impact of water hardness and adjusting your descaling routine, you can ensure that your coffee machine remains in great condition and that you continue to enjoy delicious coffee.
The frequency with which you use your Breville coffee machine plays a significant role in how often you need to descale it. The more you brew, the more water flows through the machine, leading to a faster buildup of mineral deposits. If you’re a daily coffee drinker who relies on your machine for multiple brews each day, you may find that descaling is necessary every month or even more frequently.
In contrast, if you use your coffee machine less often—perhaps only on weekends or for special occasions—you can extend your descaling schedule. For occasional users, descaling every two to three months might be sufficient to keep the machine functioning well.
It's important to pay attention to your machine's performance as well. If you notice a decline in brewing speed or a change in the taste of your coffee, it might be a sign that it’s time to descale, regardless of how often you use it. By adjusting your descaling routine based on your usage, you can ensure that your Breville coffee machine stays in optimal condition and continues to produce rich, flavorful coffee whenever you need it.
Before you start the descaling process for your Breville coffee machine, it’s important to gather all the necessary tools and materials. Having everything on hand will make the process smoother and more efficient.
First and foremost, you will need a descaling solution. Breville recommends using their own descaling solution, which is specifically formulated to effectively remove mineral buildup without damaging your machine. If you prefer a more natural approach, a mixture of equal parts water and white vinegar can also be used, although it may not be as effective as a dedicated descaler.
You will also need fresh water for the descaling process. Make sure to use filtered or distilled water whenever possible, as this will help minimize the potential for future mineral buildup.
A clean container is essential for catching the descaling solution as it flows through the machine. This can be a large jug or a bowl that fits comfortably under the coffee outlet. Lastly, have a soft cloth or sponge handy for wiping down any surfaces after the descaling process is complete.
By preparing these tools and materials ahead of time, you’ll be ready to tackle the descaling process efficiently, ensuring your Breville coffee machine stays in great condition for years to come.
Descaling your Breville coffee machine doesn’t have to be complicated. By following a simple step-by-step process, you can effectively remove mineral buildup and keep your machine running smoothly. In this section, we will guide you through each stage of the descaling process, ensuring you have all the information you need to restore your machine’s performance and enjoy delicious coffee with every brew.
The first step in the descaling process is to prepare your Breville coffee machine. Begin by ensuring the machine is turned off and unplugged to prevent any accidental operation during the descaling process.
Next, remove any coffee grounds or filters from the machine. If your coffee maker has a removable water tank, take it out and empty any remaining water. This is important as you want to start with a clean slate for the descaling solution.
Once the tank is empty, thoroughly rinse it to remove any residue. This will help ensure that your descaling solution works effectively without interference from leftover coffee oils or minerals. After rinsing, fill the water tank with the recommended descaling solution mixed with water, following the manufacturer’s instructions for the right ratio.
With the machine prepared and the descaling solution ready, you are now set to move on to the next step in the descaling process. Taking the time to properly prepare your machine will make the rest of the process smoother and more effective.
Once your Breville coffee machine is prepared and the water tank is filled with the descaling solution, it’s time to start the actual descaling process. Plug in your machine and turn it on. Allow it to heat up for a few moments, which will ensure that the descaling solution flows effectively through the system.
Depending on your specific model, you may need to select the brew or descaling cycle. Refer to your user manual for the appropriate setting. If your machine doesn’t have a specific descaling option, simply initiate a regular brew cycle.
As the descaling solution begins to flow through the machine, it will work to break down any mineral buildup inside the pipes and brewing components. Allow the entire solution to run through the machine and collect in the container you set up earlier. This process typically takes several minutes, so be patient and watch as the solution empties into the container.
Once the descaling solution has completely passed through the machine, you may notice some residue or cloudiness in the liquid. This is a sign that the solution is effectively doing its job by removing mineral deposits.
After the entire solution has been dispensed, turn off the machine and unplug it once again. Your Breville coffee machine is now ready for the next step in the descaling process.
After running the descaling solution through your Breville coffee machine, it’s essential to rinse the machine thoroughly to remove any remaining descaling solution and loosened mineral deposits. Begin by emptying the container where the descaling solution was collected. Dispose of this liquid properly, as it may contain harmful substances.
Next, remove the water tank and rinse it well with warm water to ensure all traces of the descaling solution are gone. Once rinsed, fill the tank with fresh, clean water, ideally filtered or distilled, to help minimize future mineral buildup.
Now, it’s time to run the clean water through the machine. Plug in your coffee maker and turn it back on, selecting the brew cycle again. Allow the fresh water to flow through the machine completely, just as you did with the descaling solution. This step is crucial, as it helps flush out any lingering descaling solution and clears the internal components of any residue.
After the entire tank of fresh water has passed through the machine, you may want to repeat this rinsing step once more to ensure all traces of the descaler are removed. Once rinsed thoroughly, turn off the machine and unplug it again.
Now that you have successfully descaled and rinsed your Breville coffee machine, it’s time to give it some extra attention by cleaning the exterior and removable components. This final step ensures that your machine looks great and functions optimally.
Start by unplugging the machine and allowing it to cool down if it’s still warm. Once it’s safe to handle, remove any detachable parts, such as the drip tray, brew basket, and water tank. These components can often accumulate coffee stains and residue, so it’s essential to clean them thoroughly.
Wash these removable parts with warm, soapy water. A gentle sponge or cloth works well to scrub away any stubborn stains or buildup. Rinse them thoroughly under clean water to ensure no soap residue remains, as this can affect the taste of your coffee.
While the components are drying, take a soft, damp cloth to wipe down the exterior of the coffee machine. Pay special attention to any areas that may have coffee spills or splatters. Avoid using abrasive cleaners or sponges, as they can scratch the surface.
Once everything is clean and dry, reassemble the machine by putting the removable parts back in place. Plug it back in, and your Breville coffee machine is now not only descaled but also sparkling clean, ready to brew your next delicious cup of coffee.
Regular descaling of your Breville coffee machine is essential for maintaining its performance and ensuring that each cup of coffee is rich and flavorful. By understanding the importance of descaling, how often to do it based on factors like water hardness and usage, and following the step-by-step process outlined in this guide, you can prolong the life of your machine and enhance your coffee experience.
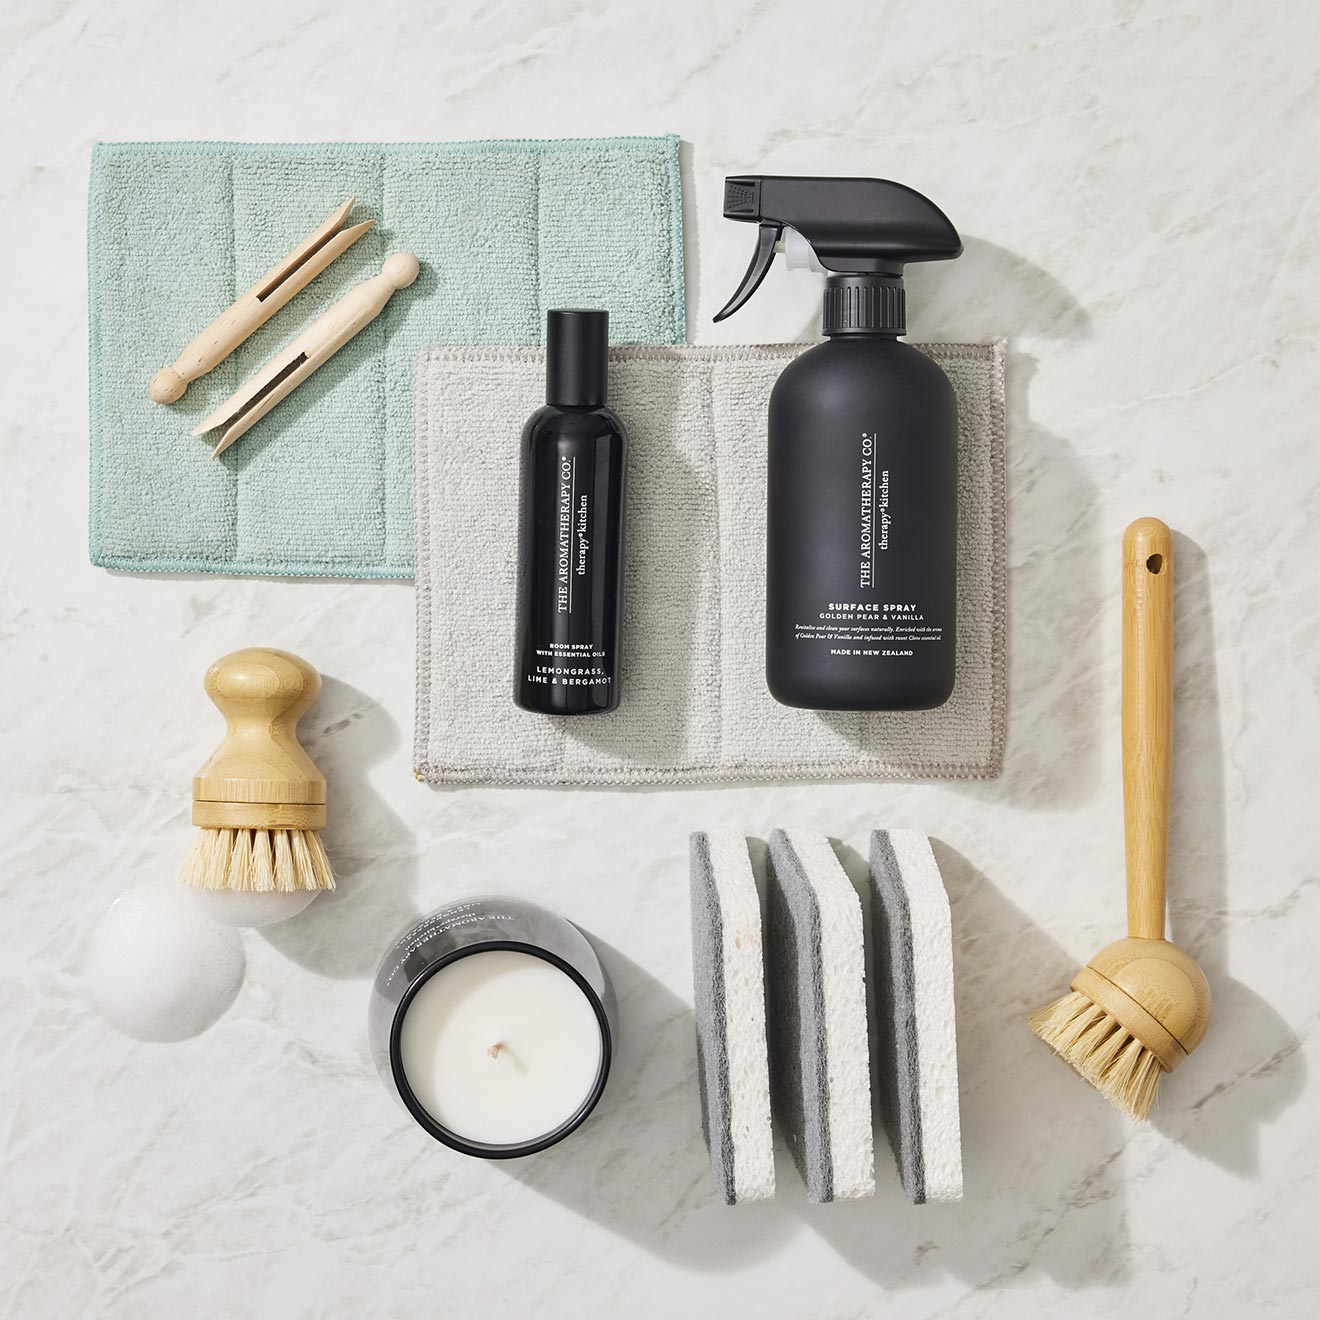
Briscoes has all you need to descale your coffee machine, and keep your brews coming.
SIGN UP AND GET $10 OFF YOUR FIRST ORDER OVER $100*
Oops! Looks like you're already signed up for our emails. If you are having trouble receiving emails, contact us at contact@briscoes.co.nz
Thank you for subscribing to the Briscoes Club! Please check your inbox shortly
Thank you for subscribing to the Briscoes Club! Please check your inbox shortly
![]()
![]()
![]()
![]()
![]()

![]()